
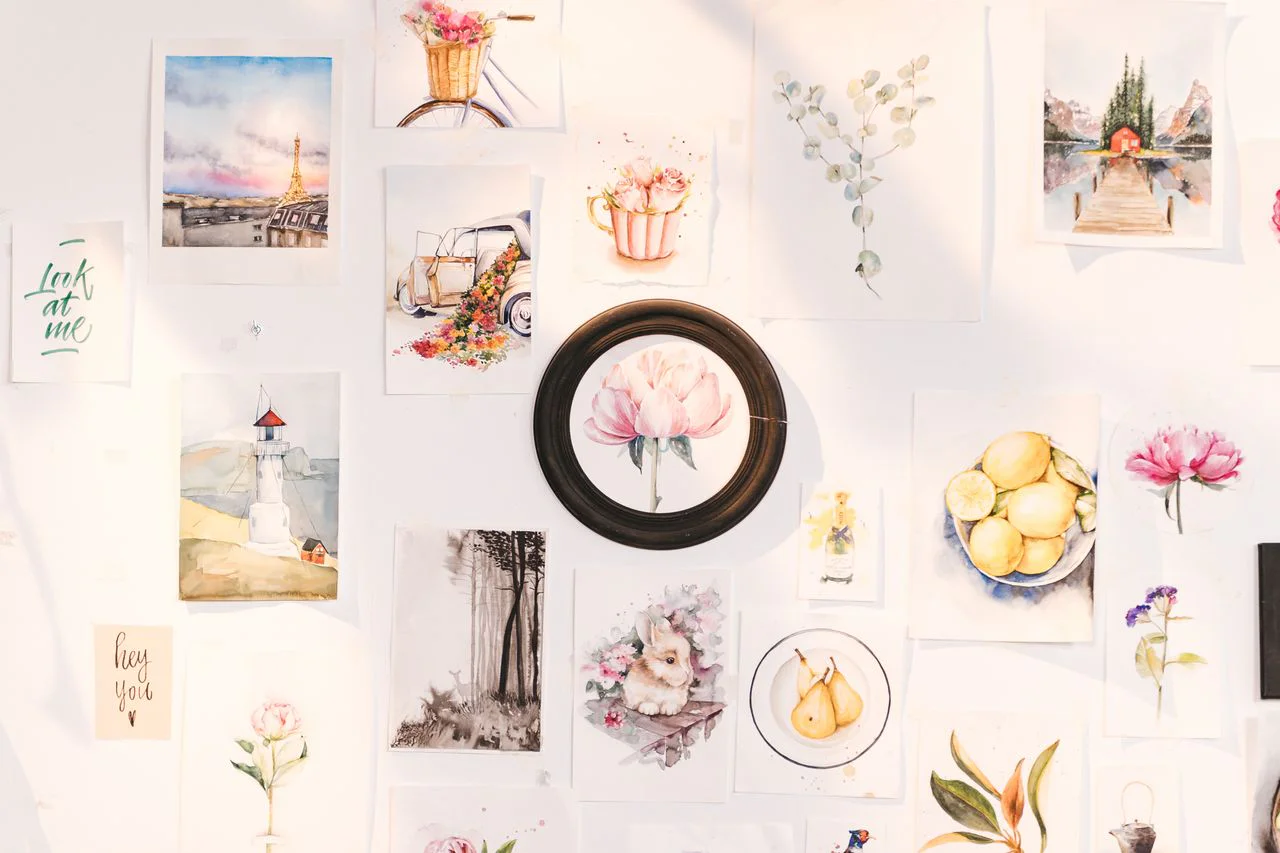
Downloading free digital art is one of the easiest and most affordable ways to transform your living space. Whether you want to refresh your bedroom with a serene landscape or decorate a cozy nursery for your little one, printables offer endless design possibilities. However, once you have downloaded your high-resolution file, the next important question is: how do you print it at home to make it look professional?
Printing digital art doesn’t require expensive professional equipment. With the right settings and paper choice, your standard home inkjet printer can deliver stunning, crispy results. In this beginner-friendly guide, we will break down the essential steps to get the perfect print every single time.
Choose the Right Paper Matter (Grammage & Finish)
The biggest mistake beginners make is using standard copy paper (printer paper). Standard office paper is too thin (around 80 gsm), which causes the ink to bleed, colors to look dull, and the paper to wrinkle. For beautiful wall art, you need heavier paper.
Paper Weight (Grammage): Look for paper that is at least 180 gsm to 250 gsm (often labeled as heavy cardstock or matte brochure paper). This gives the print a premium feel and prevents wrinkling.
Matte Finish (Highly Recommended): A smooth matte finish is perfect for watercolors, illustration line art, and nursery prints. It eliminates glare and reflections under frame glass, giving it a modern, gallery-like look.
Glossy Finish: Best used for vibrant neon landscapes or high-contrast photographs where you want the bright colors to pop.
Adjust Your Printer Settings for High Quality
Before hitting that print button, always open your printer’s advanced dialog box. By default, printers are set to “Standard” or “Draft” quality to save ink. Change these settings to unlock high-resolution output:
Set the media type to match your paper (e.g., choose “Heavyweight Matte Paper” or “Photo Paper” instead of “Plain Paper”).
Change the print quality from “Standard” to “High” or “Best”. This slows down the printing process but ensures max detail and sharp ink delivery.
Ensure the scaling option is set to “Actual Size” or “100%” so the image doesn’t get clipped or accidentally stretched.
Let the Ink Dry Completely
High-quality settings apply a generous amount of ink to the paper. Once the print comes out, resist the urge to touch the surface immediately! Let it sit flat for at least 5 to 10 minutes to allow the ink to dry and cure completely, avoiding fingerprints or smudges.







Leave a Reply