
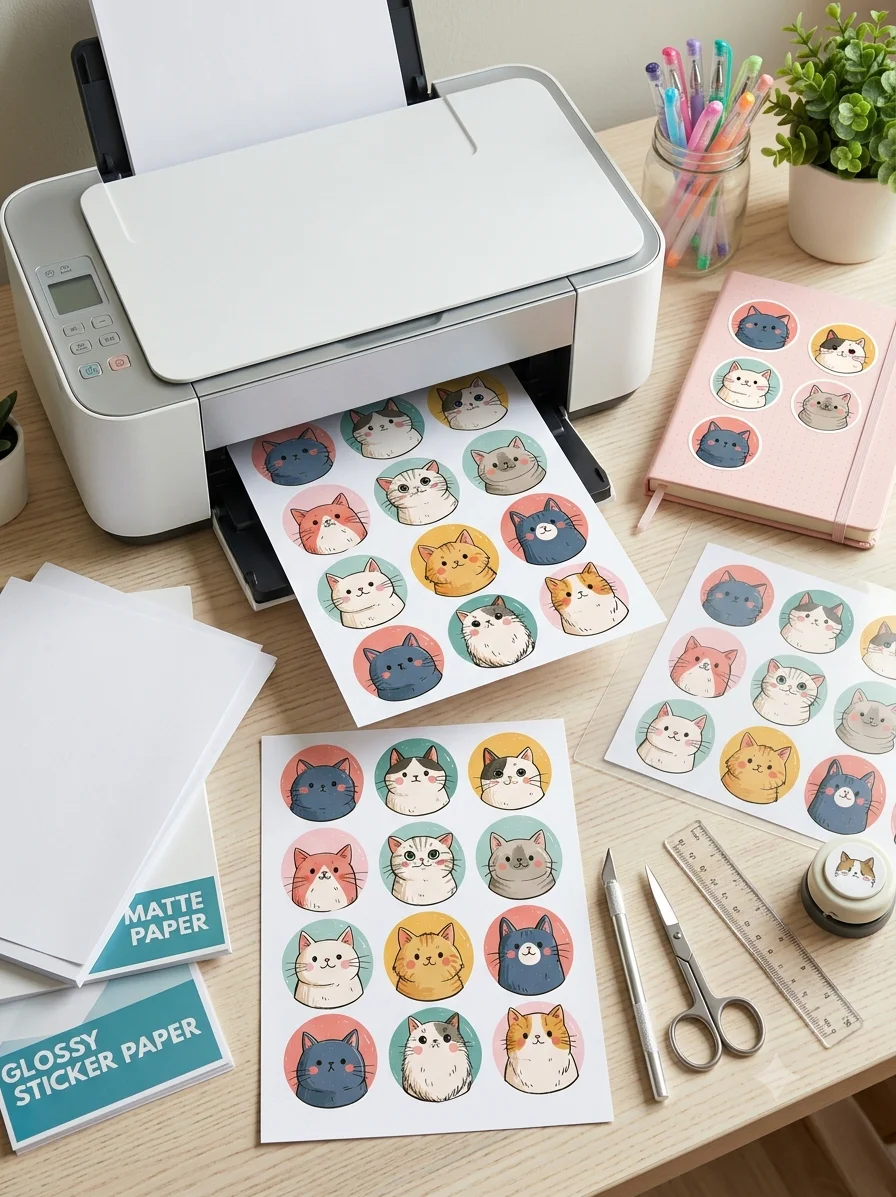
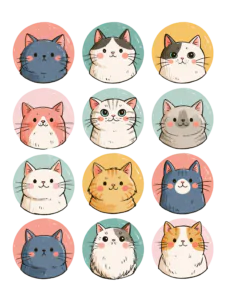
Printable stickers are one of the most rewarding and budget-friendly ways to customize your daily planner, bullet journal, scrapbooks, and home stationery. Whether you are using adorable cat sticker sheets, functional planner icons, or decorative labels, printing them at home gives you complete control over paper finishes, sizes, and quantities.
If you have ever wondered how to get crisp colors, clean cuts, and durable finishes from your home printer, this complete step-by-step guide covers everything you need to know.
1. Choose the Right Sticker Paper
The foundation of any great DIY sticker set is the material you print on. Standard copy paper with glue won’t give you that polished, shop-bought feel.
- Matte Sticker Paper: Best for bullet journals and planners because you can easily write over it with gel pens or pencils. It produces soft, vivid colors with zero glare.
- Glossy Sticker Paper: Ideal for vibrant illustrations and character art. Glossy finishes make colors pop and give a polished, premium look.
- Printable Vinyl (Waterproof): If you plan to stick your designs on water bottles, laptops, or phone cases, printable vinyl resists moisture and scratching much better than paper.
2. Recommended Printer Settings for Crisp Prints
Even high-resolution 300 DPI files can turn out blurry or washed out if your printer settings are left on default.
- Select the Correct Paper Type: Before hitting print, go to your printer properties and change the media type from Plain Paper to Photo Paper Matte or High-Gloss Photo Paper.
- Set Quality to High / Best: This forces the printer to slow down and deposit more ink, resulting in sharp outlines and rich color saturation.
- Print at 100% Scale: Always ensure “Fit to Page” is turned off so your sticker circles and cut outlines maintain their precise dimensions.
3. Cutting Methods: Scissors, Craft Knives, or Cutting Machines
Once your sticker sheet is freshly printed and completely dry, it is time to cut out your shapes.
- Precision Scissors or Craft Knives: Best for simple shapes and hand-drawn doodles with clear white outlines.
- Circle Hole Punches (1.5″ – 2″): The fastest method for round cat icons and circular planner stickers.
- Cricut or Silhouette Machines: Perfect for automated “kiss-cut” sheets (where the sticker peels off while the backing remains intact).
4. Pro Tip: How to Make Your Stickers Waterproof
Standard inkjet ink is water-soluble, meaning a single drop of water can ruin your design. To make your stickers durable and scratch-resistant:
- Apply a Laminate Sheet: Place a clear self-adhesive laminating sheet over your printed design before cutting.
- Use Clear Acrylic Spray: A quick coat of clear seal spray protects paper stickers from fading and light moisture.


Leave a Reply