
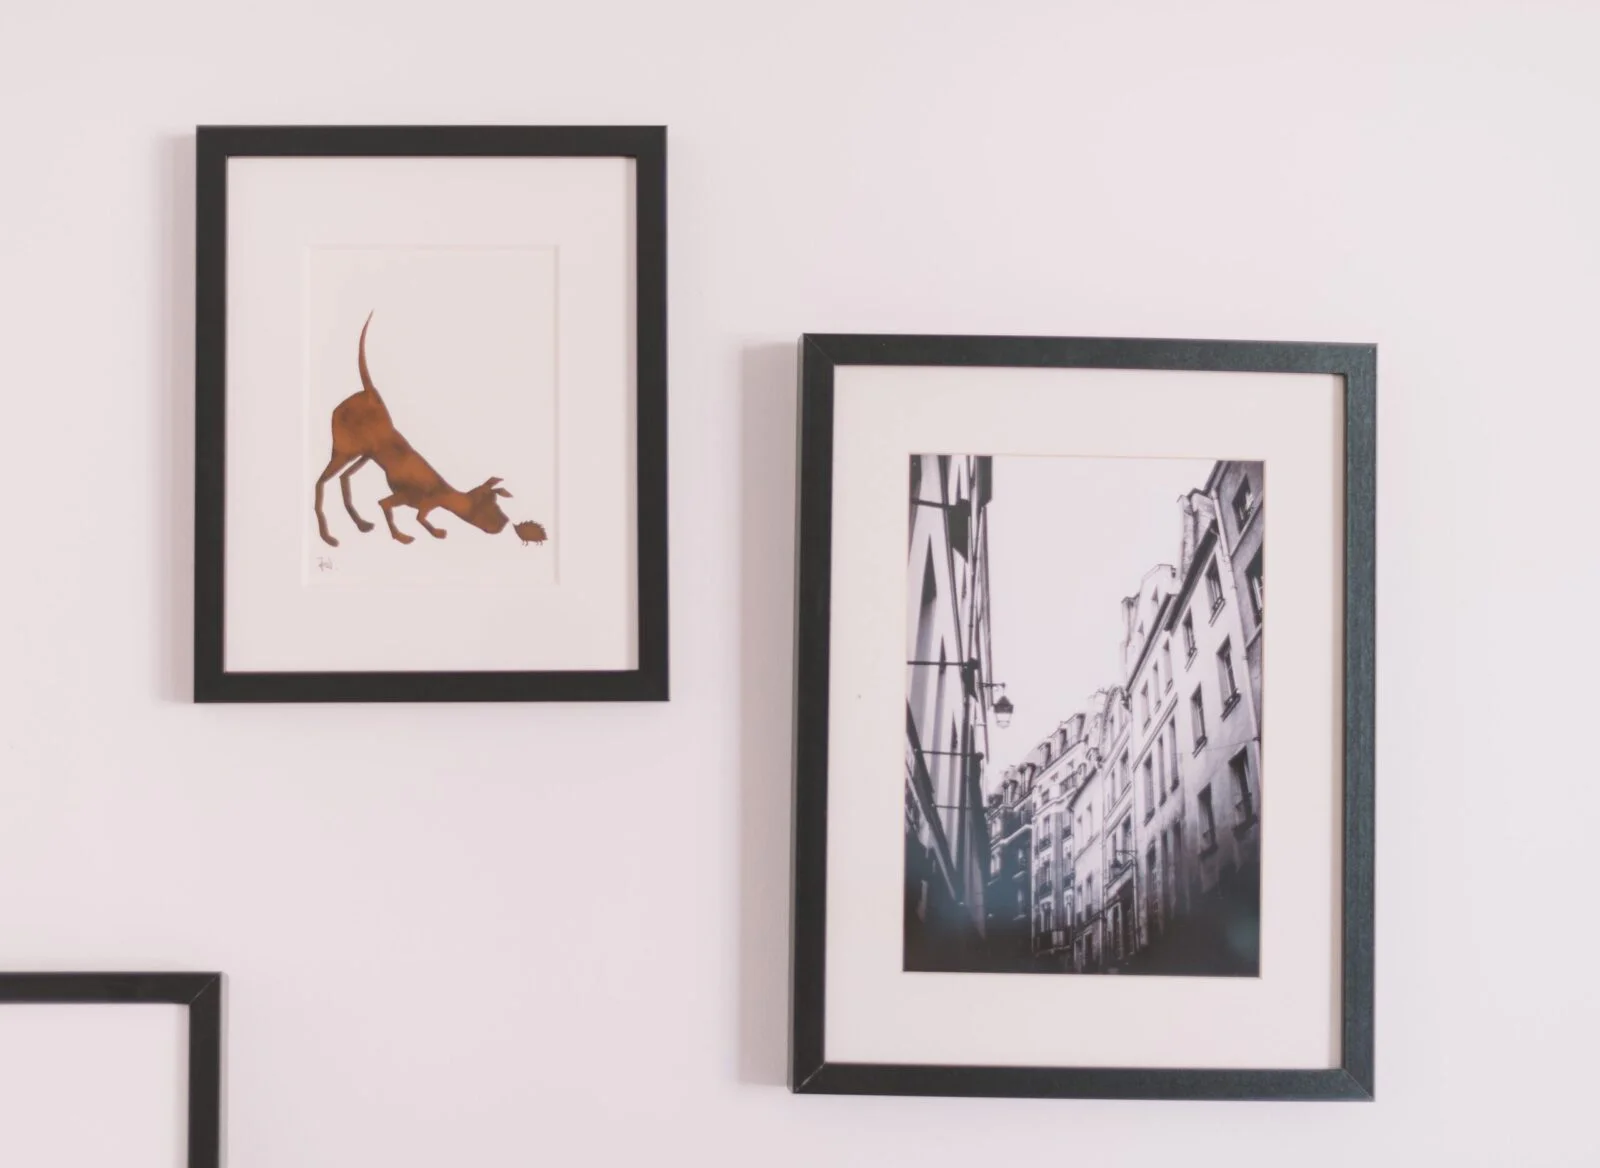
Empty walls can make a home feel cold and unfinished, but filling a large room with expensive artwork can easily drain your bank account. Luckily, there is a stylish and budget-friendly alternative that interior designers swear by: the DIY gallery wall. By combining high-quality free printables with smart framing tricks, you can create a luxurious, personalized wall display for the price of a few cups of coffee.
Whether you want to curate a collection of cute animal prints for a nursery or create a modern minimalist vibe in your living room, here is how to arrange a gallery wall like a pro on a budget.
Choose a Cohesive Theme or Color Palette
A great gallery wall feels intentional, not chaotic. To achieve a premium look, make sure your prints share a common bond. This could be a theme (such as our “Safari Nursery Animals Collection” or “Impressionist Nature Landscapes”) or a strict color scheme (like warm autumn ochre, soft pastels, or clean black and white monochrome).
Mix Your Print Sizes and Formats
Don’t print all your digital art in the exact same size. A uniform grid can look sterile. Instead, introduce visual interest by mixing scales. Use one or two large focal prints (e.g., A3 or 16×20 inches) as your anchor pieces, and surround them with smaller accent prints (A4 or 8×10 inches). You can even mix vertical (portrait) and horizontal (landscape) frames to break up the lines.
The Floor Test: Plan Before You Hang
To avoid turning your wall into a piece of Swiss cheese with accidental hammer holes, always test your layout on the floor first! Lay out all your framed printables on carpet or a blanket. Rearrange them until you like the spacing (keep about 2 to 3 inches of space between each frame). Once the layout is perfect, take a quick photo on your phone to use as a blueprint when hanging them up!



Leave a Reply